Setting up Windows Server 2016 for the first time from a Microsoft Partner ISO — bare metal or VM, the process isn’t complicated once you know the sequence.
For bare metal, turn the ISO into bootable media, usually a USB stick. For a VM, either reuse that same USB or just point your hypervisor (Hyper-V, VMware) to boot straight from the ISO.
Boot up, and you’ll be asked to pick an edition:
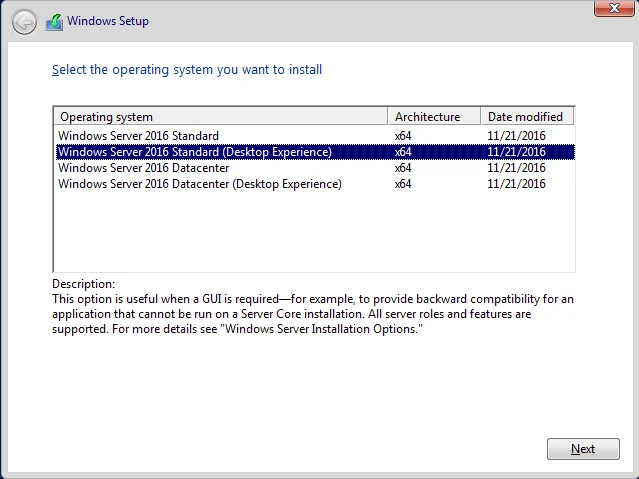
Desktop Experience comes with the full OS UI; the core option is command-line only. If the server’s going to host multiple VMs, go Datacenter edition.
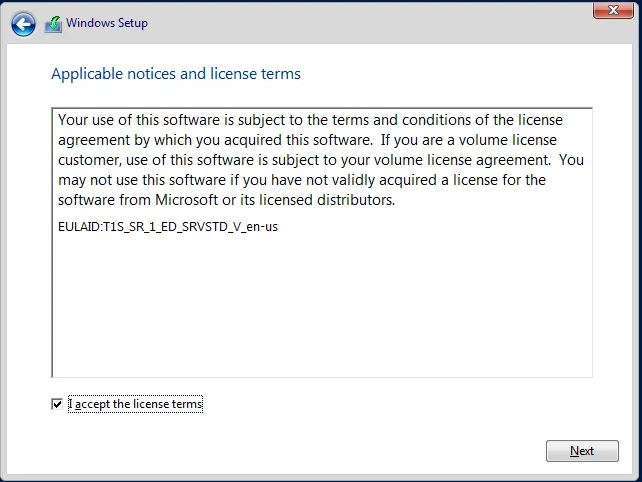
- Accept the licence terms.
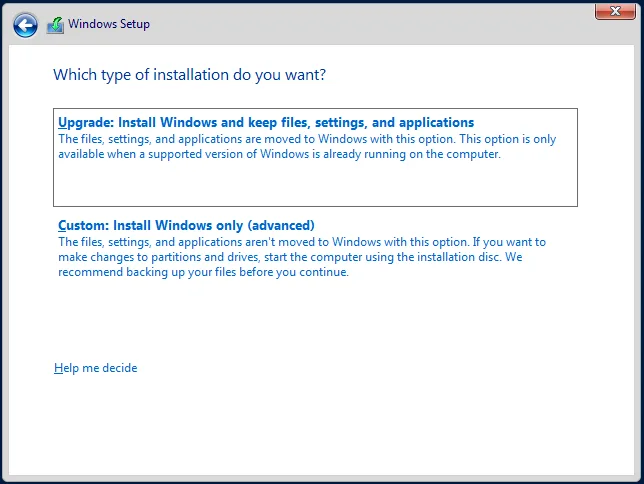
- Choose Custom: Install Windows only (advanced) for a clean install.
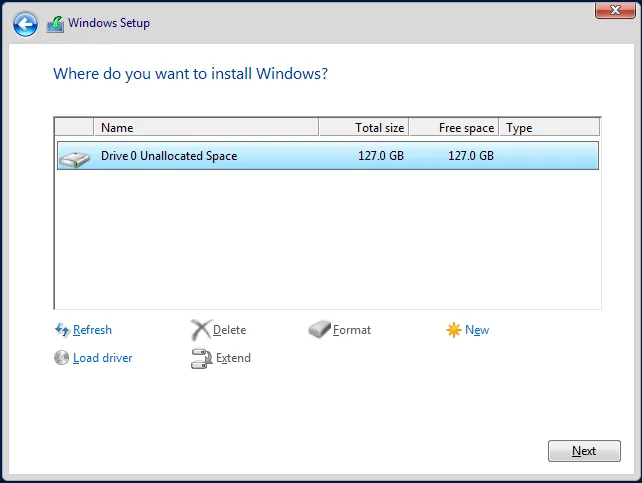
- Pick your install drive — worth splitting into more than one if you want OS and data kept separate.
- Let the install run — recent Windows installs have been reliably hands-off.
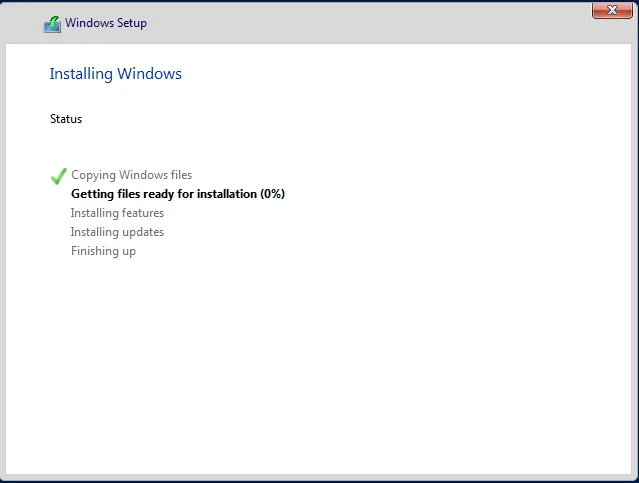
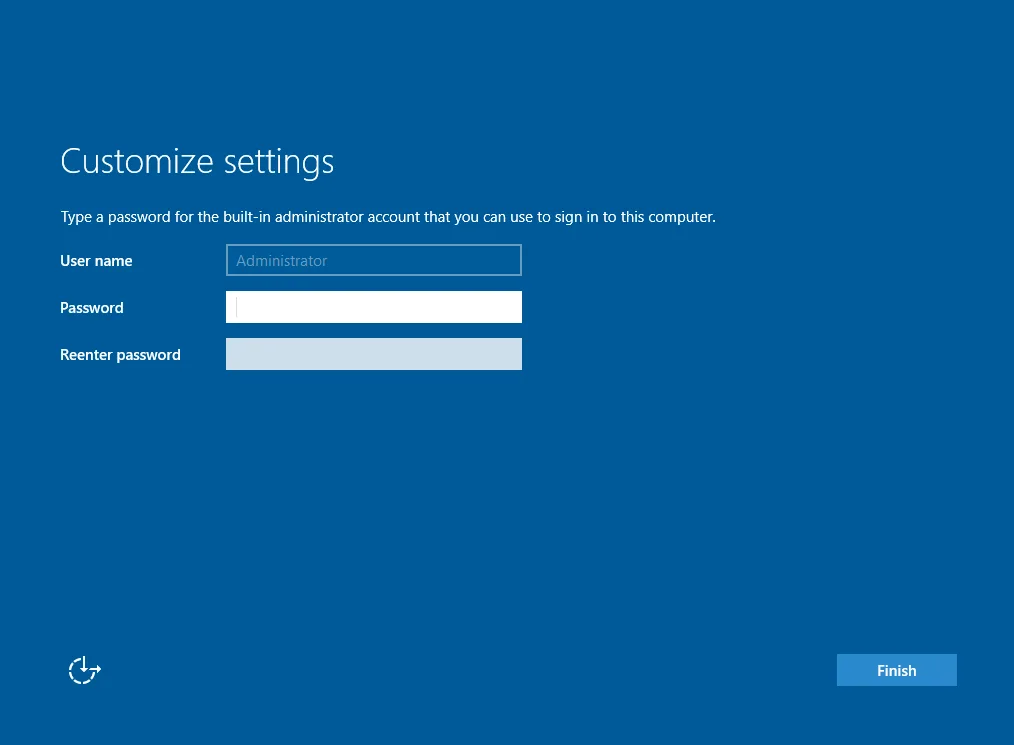
- Set the local administrator password when prompted, click Finish.
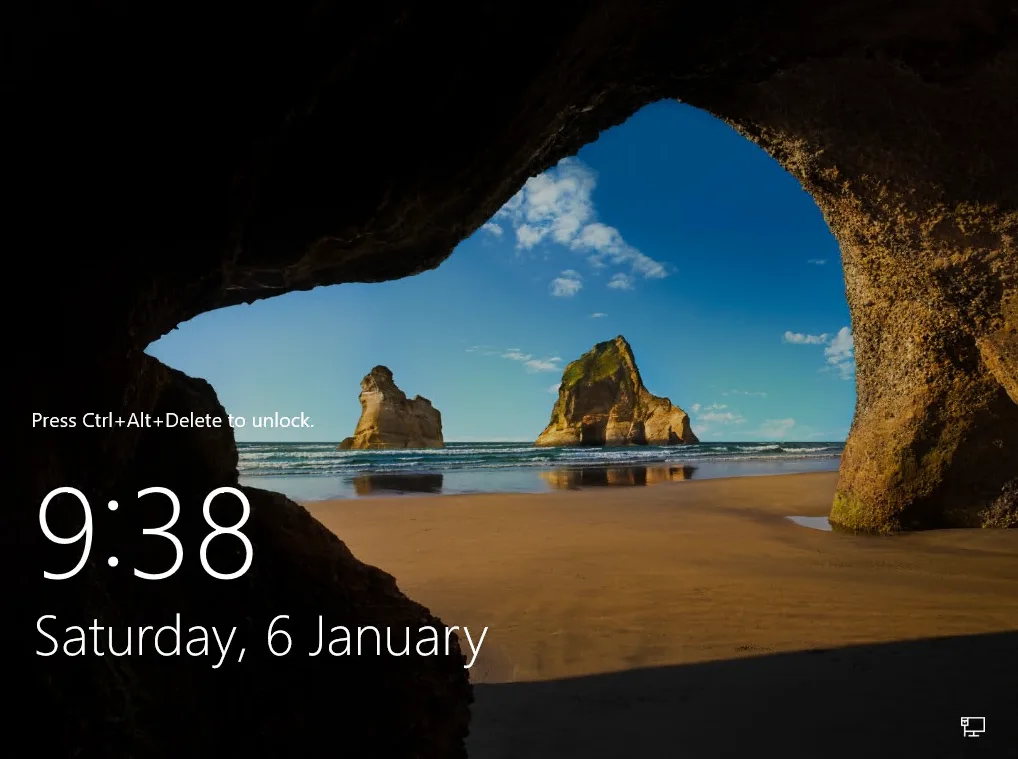
That’s it — pretty fast and breezy, a real step up from older Windows Server versions. Hoping the trend continues with future releases.