Getting SQL Server 2016 to accept remote connections on Windows Server 2016 is a two-part fix, both parts easy to forget one of when you’re doing this for the first time on a fresh box. This covers a same-network-segment LAN scenario — connecting from outside the local network needs additional firewall configuration on top of this.
1. Open the inbound firewall for the SQL Server TCP port
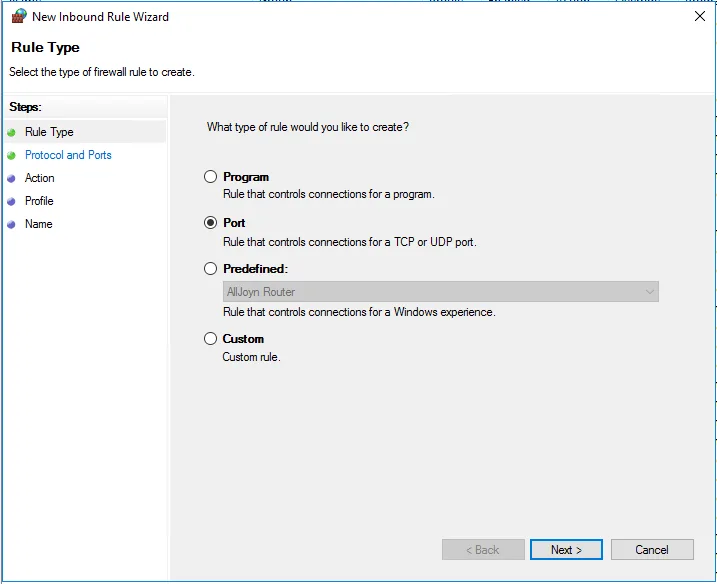
Launch Windows Firewall with Advanced Security, and create a new inbound port rule.
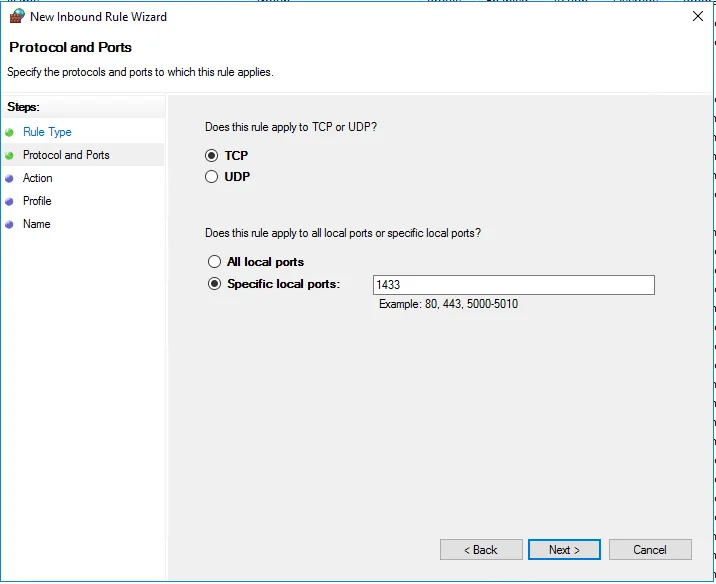
Set the TCP port to SQL Server’s default port of 1433.
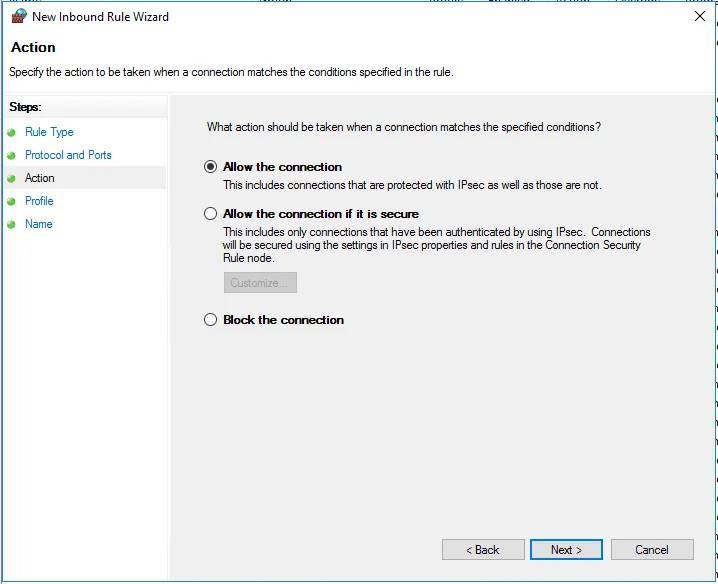
Allow the connection.
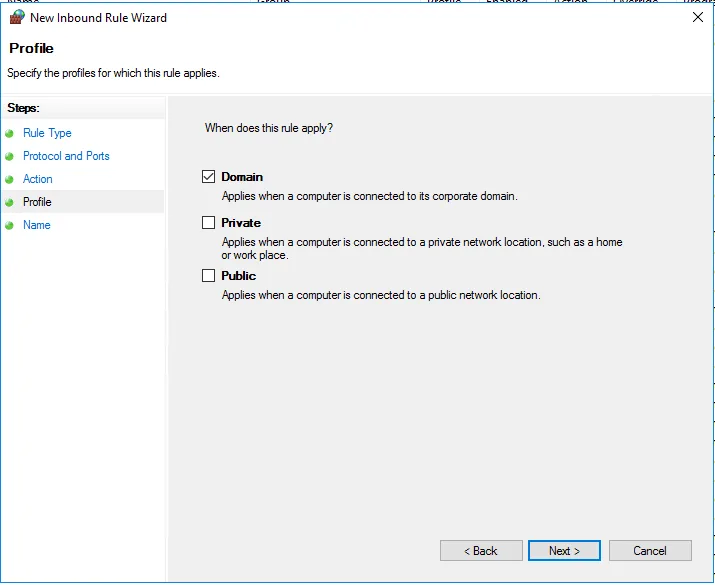
Allow connection from the specific network location choices.
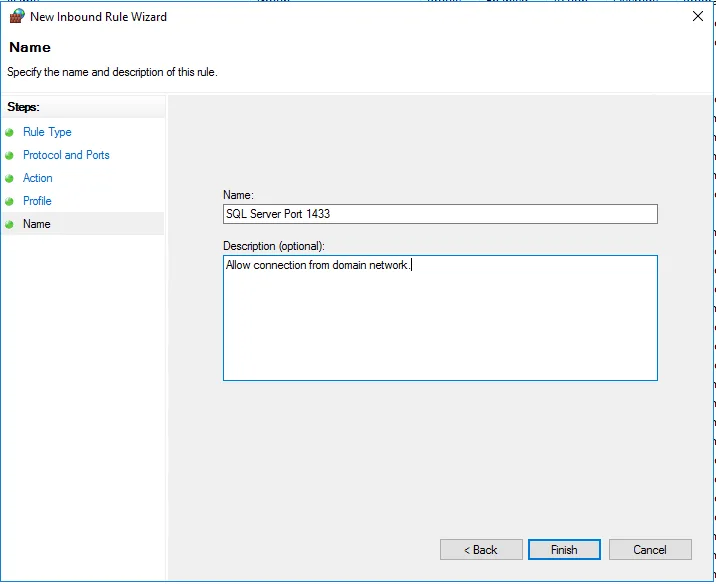
Give a name to your firewall rule. You’re finished with the server firewall configuration.
2. Enable TCP/IP listening in SQL Server Configuration Manager
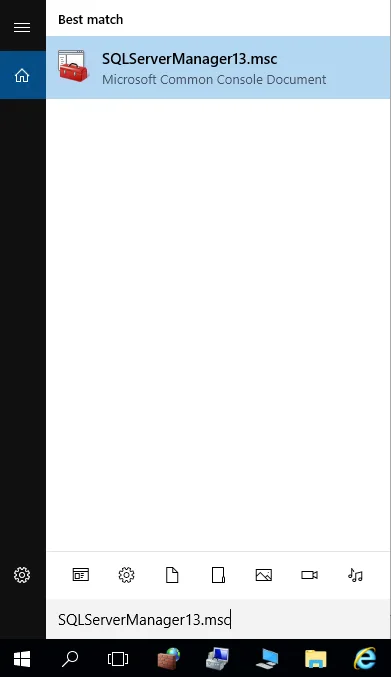
Launch SQL Server Configuration Manager.
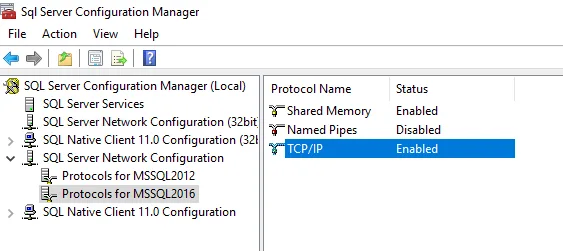
Enable TCP/IP.
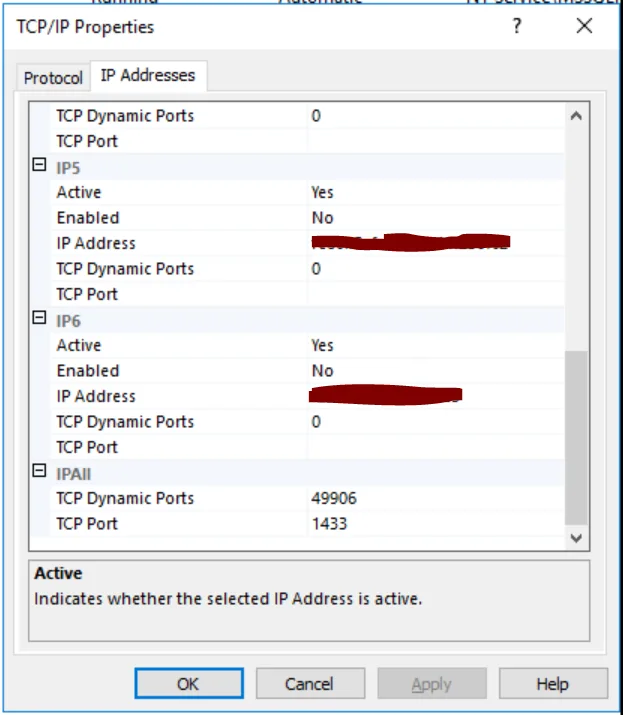
For the TCP/IP Properties, set IPAll to listen on TCP Port 1433 (the default port for SQL Server).
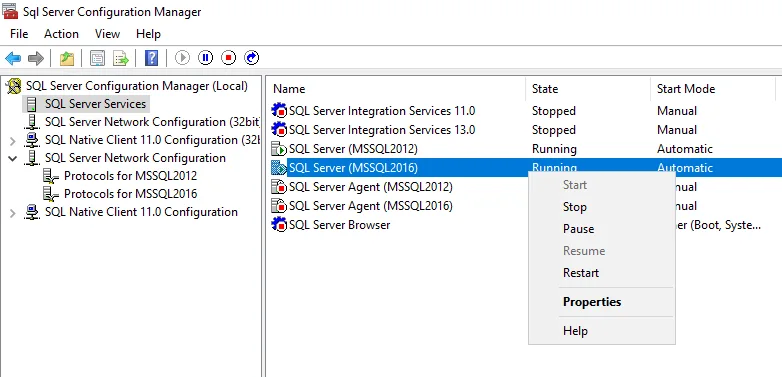
Restart the SQL Server service to effect the changes. Your SQL Server is now ready to accept remote connections.
Test your connection
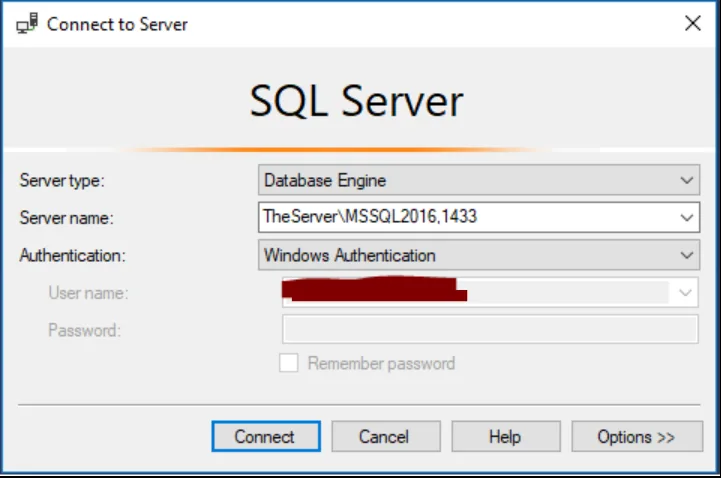
Launch SQL Server Management Studio and key in your [target server]\instance,port. Then Connect… In this example, it’s TheServer\MSSQL2016,1433.
That’s all to it — enjoy your remote connection.